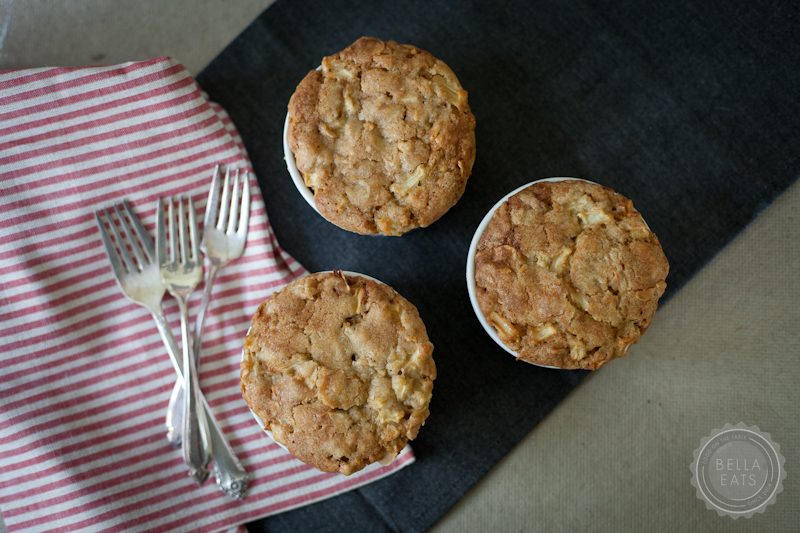
I mentioned last week that I'd be giving a little chat about food photography underneath the Relay Foods tent at the Heritage Harvest Festival last Saturday. Since so many of my readers are not local and would not have had the opportunity to stop by, I thought I'd post a summary of that presentation here on Bella Eats. And, for those of you who just want the recipe for the apple dapple cakes pictured throughout, it's at the end. :)
I get questions quite often about my photography and how I capture the images that I present here. The most important piece of advice that I ever give inquiring minds is this: PRACTICE. If you reach waaayyy back in the Bella Eats archives you'll see that my photography has changed immensely in the nearly 3 years since I've been sharing recipes from my kitchen. In fact, I give this little weblog 100% credit for renewing my passion for photography after architecture stole it away for 10 years. When I began Bella Eats I relied mostly on my little Canon Powershot point-n-shoot camera, and quickly switched over to my DSLR once the focus of the site moved from a daily food diary to a more focused recipe + photography portfolio. With that change, the amount of time I spent capturing images for each recipe increased. With each post my eye strengthened and developed until I'd created a style all my own, certainly influenced by but never outright imitating other food photographers that I admire. The reason that my photography looks and feels as it does today is because I keep picking up my camera, keep following the blogs and magazines and artists that inspire me, keep challenging myself in new ways with each project I tackle. And I promise you, 3 years from now my photography will be different than it is today because of the life I will live during that time. Everything experienced in life is an influence on one's art. So...PRACTICE. It is the ONLY way to become the photographer you wish to be. Everything else is just details.
And now, on to those details. This is by no means a comprehensive guide or the 'right/only' way to photograph food. I mostly hope to give some insight into how I work, and the decisions I make while capturing images for Bella Eats. I don't go into the technical aspects of working your camera, but simply challenge you to look at your photography from another point of view. If you have any specific questions, please feel free to ask them in the comments section!
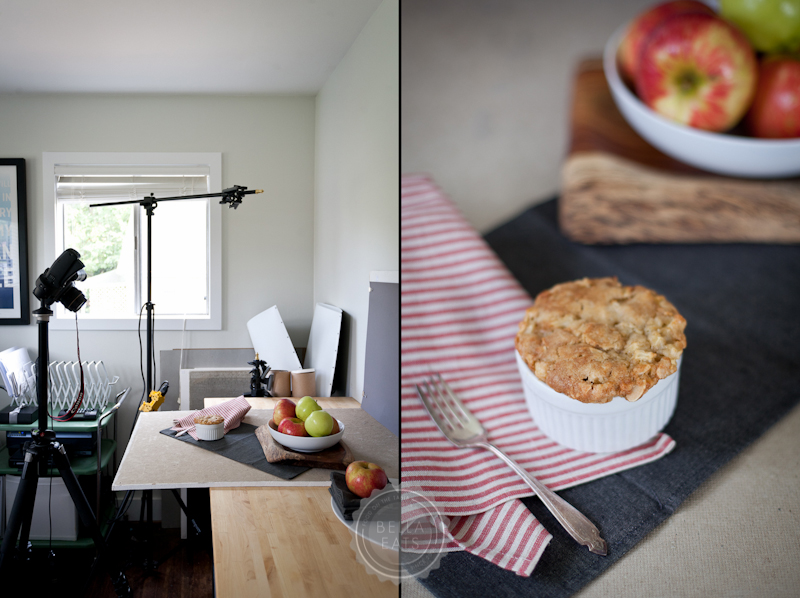
I first want to show you that I don't have a big fancy studio with a beautiful gourmet kitchen directly adjacent to it. Boy, do I wish I did! Someday... Right now Brian and I share a 10'x10' home office space, one side dedicated to our desks and computers and the other dedicated to my work table, some prop storage, and camera equipment. The end of that table is where most of my photography happens, unless I'm feeling like a different sort of lighting or need a bit more space, and then I'll move out to our dining room. (I'll show you the difference in light quality between those spaces a little later.) It is very helpful to have this dedicated space for photos, so that our dining room isn't constantly taken over with my equipment as it was for the first 2 years of writing Bella Eats. If you can manage to clear off a 2'x3' space to keep set up, I highly recommend it.

LIGHT
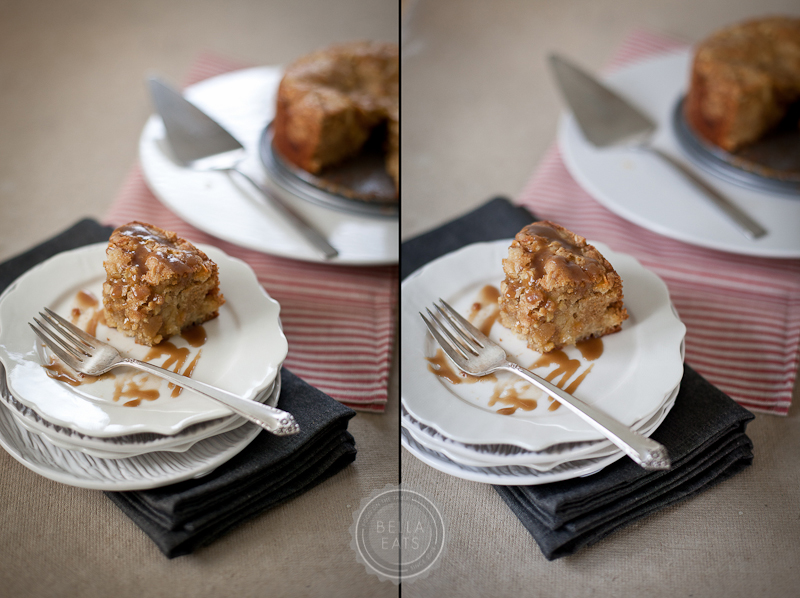
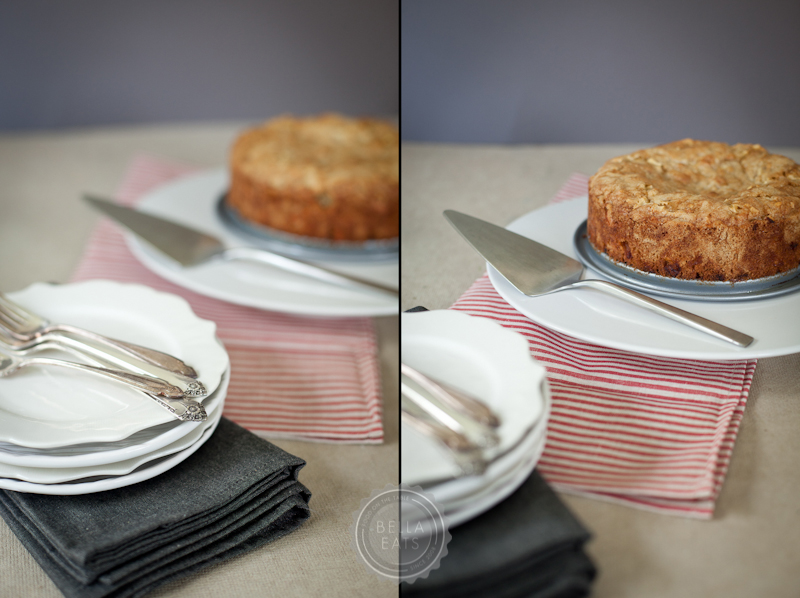
All recipes on Bella Eats are photographed using natural light. I did dabble with artificial lighting momentarily, and occasionally break out my Lowel Egos if I will be shooting on location in a restaurant, but 95% of the time the images captured are lit using indirect or diffused sunlight. So, the first thing that I do when I am planning to photograph a recipe is I think about the quality of light that I am looking for in my images. The pair of shots below demonstrates the difference in lighting in my dining room (left) versus my studio (right). Both images are perfectly fine, but there are subtle differences that I'd like to point out:
1. Temperature. My dining room windows face west and north, and these images were captured in the late afternoon, so the color cast in that space was much warmer than the cast in my office/studio, which faces east and north.
2. Direction of light. In the image on the left, the windows are to the left and in front of the camera, which highlights the cake stand nicely but casts more shadow on the right side of the cut piece. In the image on the right, the windows are to the left and behind the camera, which provides nice, even lighting on the cut piece but leaves the depth of the image more flat. The difference is especially apparent if you look at the folded end of the gray towel.
Again, neither of these images represents the 'right' way to light a subject, just two different perspectives. And there are many, many more options!
CLEAN + STAGE
This is pretty self explanatory. Do as much set-up as you can before you step foot in the kitchen. Analyze the recipe, pick your backdrops, linens, dishes, and extra props. Set up the camera and stage the first shot while thinking about how you plan to capture the others. For something like these mini cakes, this step isn't as big of a deal. But if you have a cast iron pan of fajitas coming off the stovetop and you want to photograph the steam rising from those sizzling veggies, you better have your studio space ready to go!
RECIPE ANALYSIS
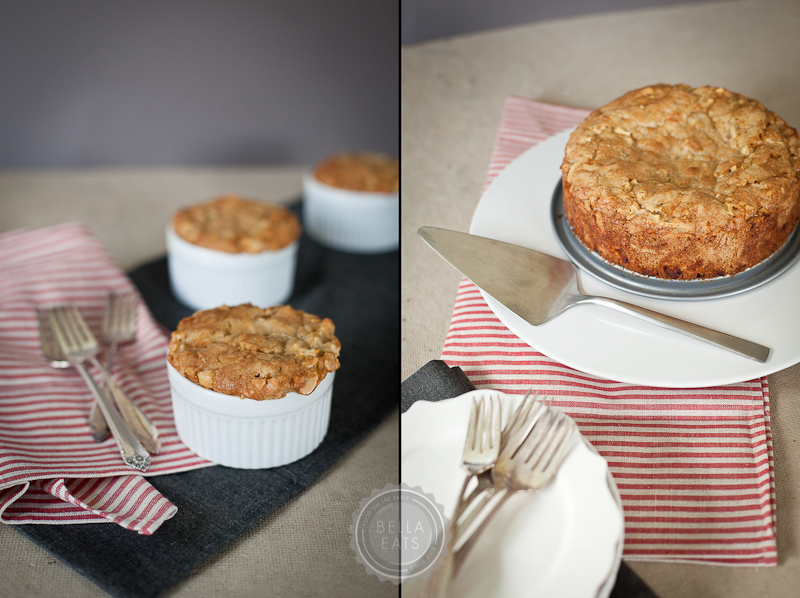
Just because a recipe for cake says that it should be baked in an 8-inch round cake pan, doesn't mean it has to be! Read through the recipe thoroughly and think about how you'd like to present the food. Individual cakes are fun to photograph, but a whole cake provides a slew of cutting/serving options. Will the food be photographed in the dish that it is prepared in? Or can you ignore the cooking dish because the food will be removed and plated? Do you want to capture multiple stages of the cooking process and, if yes, which of those stages should be documented and where?
PROPS
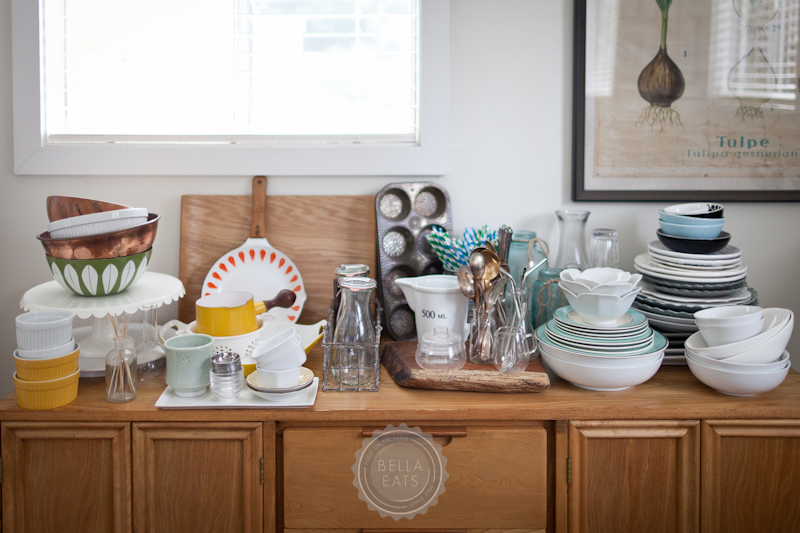
Analyzing the recipe will give clues as to what vessels should be used to present the food. Most often you can't go wrong with a white dish, but sometimes a colorful serving piece can really help to set off the colors in a recipe, such as these strawberry tarts on the teal plates shown below.
BACKDROPS
Once I've analyzed the recipe and chosen the dishes I'll use, I pick the backdrop for the photographs. The backdrop has a huge influence on the overall feel of the images, taking it from rustic to refined with a switch from the pallet to the ebony floor sample. As you can see, Lowe's and Home Depot can be a great place to pick up photo backdrops.

TEXTURES + COLOR
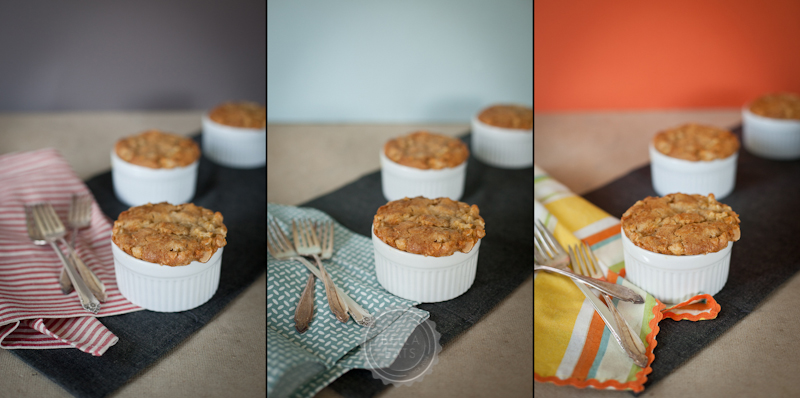
Once I've chosen the dishes and the backdrop, I move on to the styling of the images. Again, colors + textures can have a huge influence on the overall feel of the scene. Below I've shown examples of those little apple cakes styled in three simple ways, from neutral to pastel to festive. This recipe was pretty much a blank slate, given its neutral tone and white ramekin. But, imagine this beet risotto in that orange scene...blech!
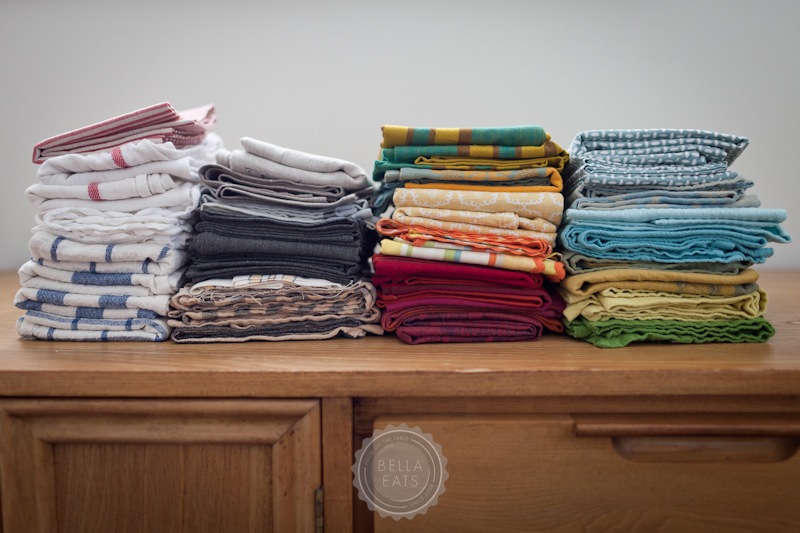
I have a slew of colored and patterned papers and linens that I sort through all the time. The key is to have a good variety so you never get bored. Sometimes, though, I will realize that I've really had a thing for the pallet paired with natural linen and antique silverware (who doesn't?) and have to force myself to think outside of the neutral box, which is typically my preference. Again, challenge yourself! Find a fun linen or paper and work to style your entire scene around it.

VIEWPOINT
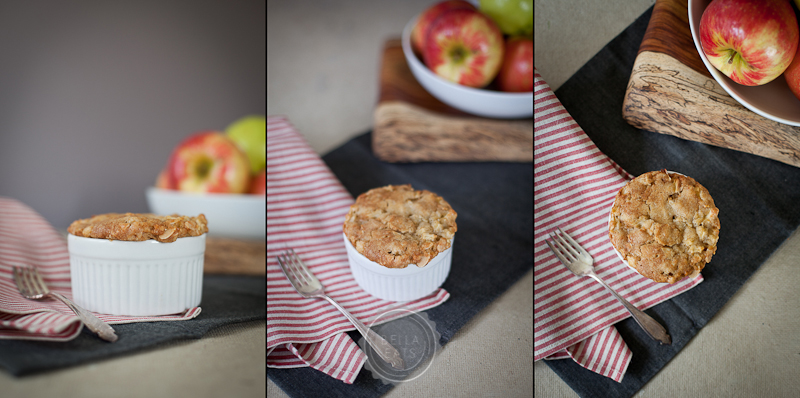
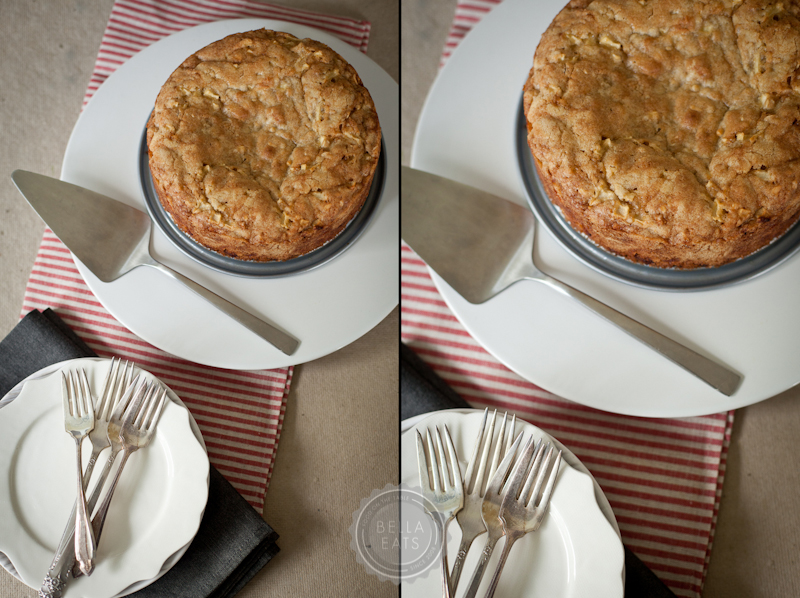
There are three viewpoints typically used in food photography: front, angled, top. I use them all, typically in each post. If you find yourself always shooting from one direction be sure to switch things up and challenge yourself to a new point of view.
DEPTH OF FIELD
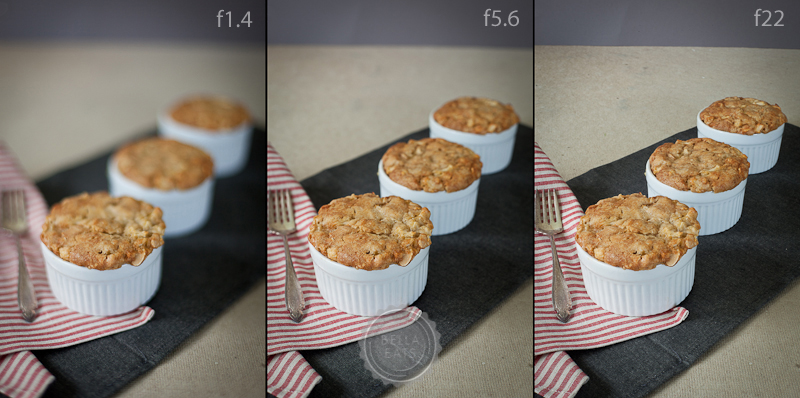
The depth of field in an image refers to the depth of the image that is in focus, and is controlled by the camera's aperture. This is a subtle nudge to explore the settings on your camera beyond 'auto'. Again, none of these is the 'right' aperture to set your camera to, but is simply a demonstration of how the story you tell with your art can be influenced by the depth of field.
FOCAL POINT
Similar to the depth of field, the point of focus in the image can alter the story told. Below I've focused on the first, the middle, and then the last cake. In the image below that I've focused first on the forks and then on the cake. Quite literally, the focal point will draw attention to the point of the image that you wish to be the focus, and it doesn't always fall right in the middle of the frame.

CROP
Does the whole dish need to be present in the frame for you to convey its qualities?
CLUTTER
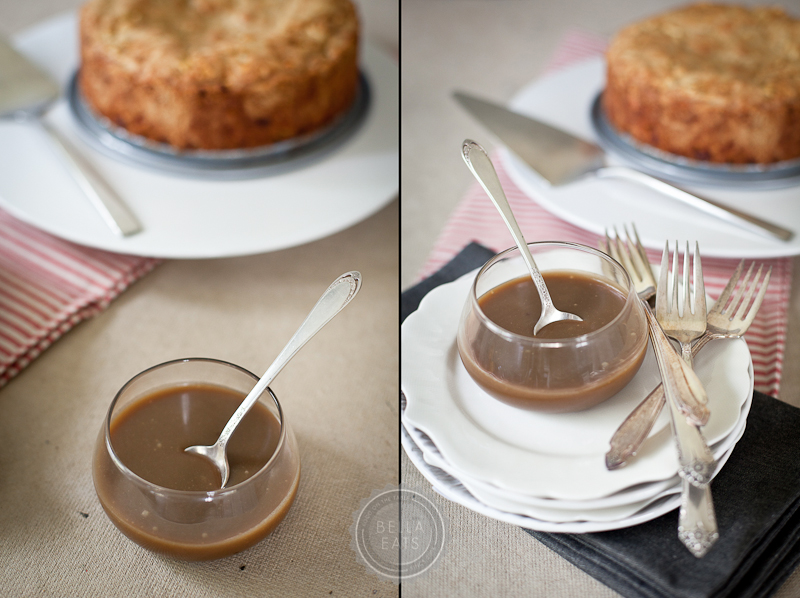
I often find that less is more. In the case of the two images below, I really wanted to show the sauce I made to accompany the cake. However, the image on the left felt a bit too cluttered, and I was much happier with the shot once I removed the little bowl.
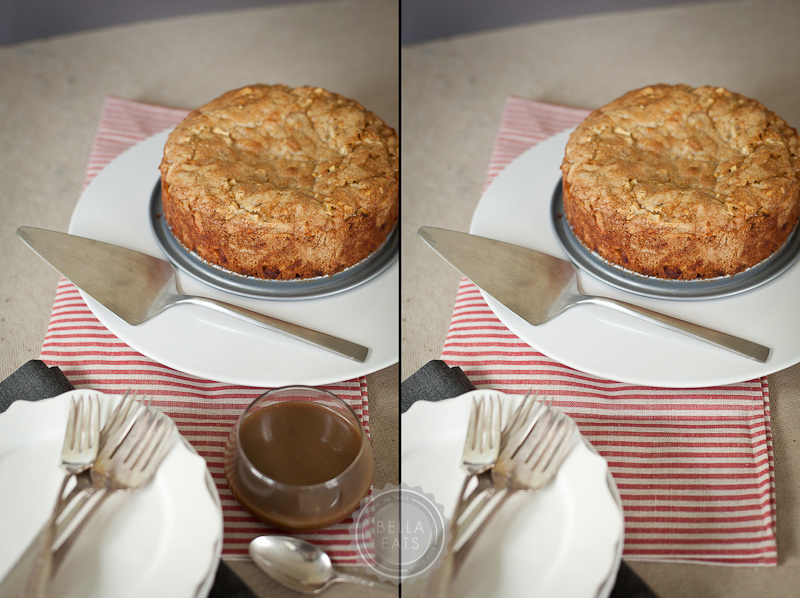
Instead, I found two different ways to set up and style additional images with the sauce as the focus. I would probably pair one of these with the image on the right, above, in a blog post.
SHOW MORE OF THE STORY
Don't lose sight of the fact that food is meant to be eaten, and showing only the final, pristine cake is not the whole story. Slice it, dish it, eat some of it, and photograph each of those stages. Some of my favorite images show a half-eaten piece of cake or an empty plate, typically found at the end of a post.

POST-PROCESSING
It is my goal to do as little post-processing as possible, always. My love for photography falls in the styling and capturing of images, not in sitting behind my computer tweaking settings until the image looks nothing like what I caught in-camera. I adore Adobe Lightroom 3, and do most of my editing there. It is a powerful editing program and fantastic for organizing my images, of which I take a lot. For an average Bella Eats post I'll take between 60-100 images, and typically whittle them down to 10 that actually go in the post. Lightroom is great for that process. I rarely take images into Photoshop, and when I do it is usually only to remove a stain from a backdrop paper I've used one too many times, or to collage multiple images together (I am still not happy with doing this in Lightroom, for some reason). I even add my watermark as I export images at web-resolution from Lightroom.

The image on the left is straight from the camera, and on the right after a little brightening, a little warming, and a little clarity.....and that's about it.
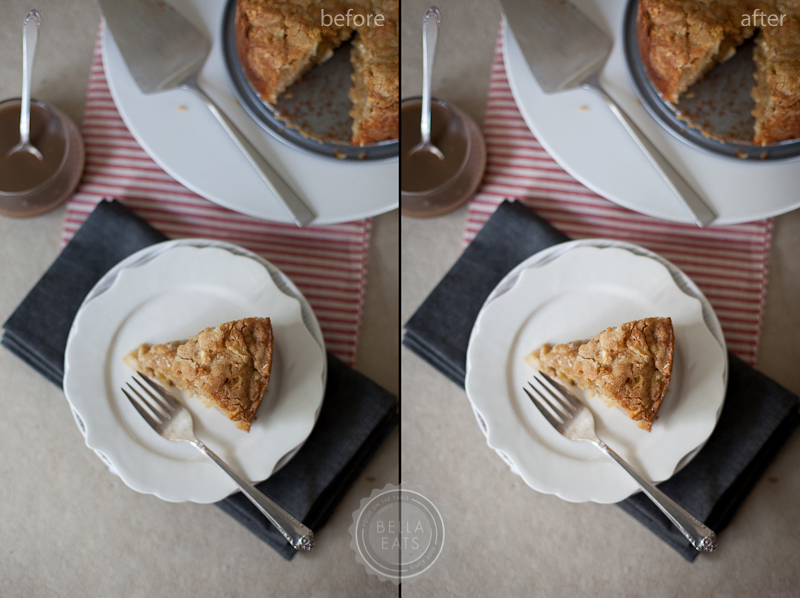
Same for the images below, except I also removed that little paint spot from the homosote, also in Lightroom. I can be picky.

And...that's it! My process for capturing photographs of food. Again, if there are any specific questions, please ask in the comments section below! I'll go ahead and answer one right now, because I know I'll get it:
Q: What camera equipment do you use for food photography?
A: Canon 5D MkII, Canon 50mm f1.4, Canon 100mm f2.8, Canon 35mm f1.4L
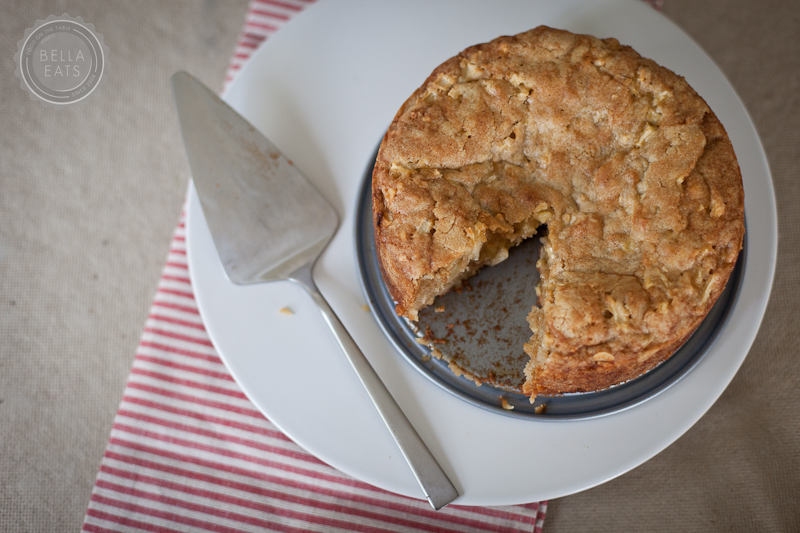
On to cake. Seriously, this recipe is one of our new favorites. I seem to say that a lot, but I really, really mean it with this one. So simple, so delicious, easy to travel with (I lugged the full cake and the mini cakes to the festival for my demonstration last night, and they fared perfectly). It has a consistency similar to coffee cake - soft and spongey and laced with fruit and nuts. Meaning...it is great for breakfast. And you know I LOVE a cake that I can eat for breakfast. :)
Apple-Dapple Cake
from Mollie Cox Bryan's Mrs. Rowe's Little Book of Southern Pies (the original recipe is for pie)
makes (8) 4-inch cakes, or (2) 8-inch cakes
Ingredients
- 3 eggs
- 2 cups sugar
- 1-1/2 cups light vegetable oil
- 1 tsp vanilla extract
- 3 cups all-purpose flour
- 1 tsp baking soda
- 1 tsp ground cinnamon
- 1 tsp salt
- 3 cups diced apples
- 1 cup chopped raw or toasted nuts (I used sliced almonds)
Method
- Preheat oven to 350°F. Butter (8) 4-inch ramekins or (2) 8-inch cake pans.
- Beat the eggs, sugar, oil, and vanilla in a large bowl until thoroughly combined. Add the flour, baking soda, cinnamon, and salt and mix thoroughly. Stir in the apples and nuts until evenly distributed, then spoon the mixture into the prepared baking dishes.
- Bake for 40-50 minutes, until a toothpick inserted in the center comes out almost clean, then transfer cakes to wire racks to cool. (The small cakes took about 40 minutes, the larger the full 50 minutes.)
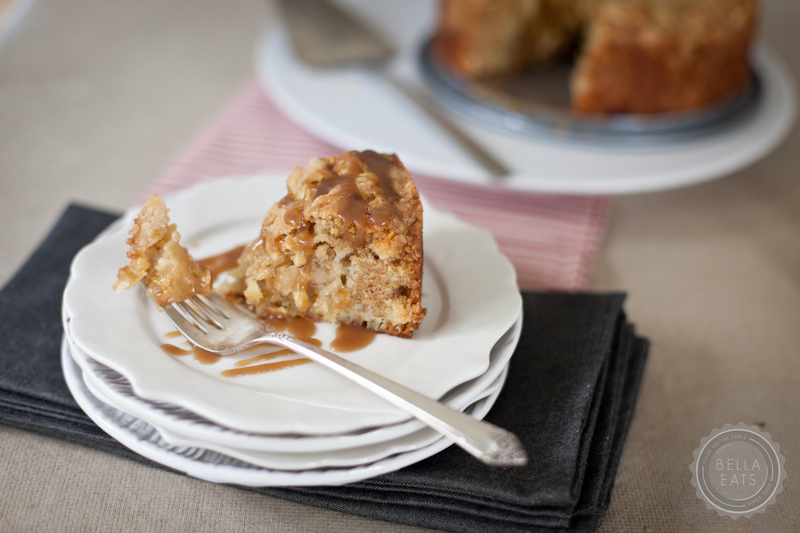
We enjoyed ours served with this rum caramel sauce.


















 I’m fairly new to the world of writing, having only started forcing myself to practice regularly when I started this blog and discovered how much I enjoy it. I’ve learned in the six months since defining the
  This evening, as I was in the middle of my uninspired third draft, my Momma called for a chat. She had some bad news about an elderly relative, my grandfather’s sister. My Great Aunt isn’t doing very well, in fact hasn’t been for awhile, and Momma wanted to update me on her status. Our conversation eventually turned to more trivial subjects to lighten our mood, and my unsatisfying third draft came up. As I explained my writer’s block my Momma chuckled, and proceeded to share with me a few of her own childhood memories of plums, of which she has many.
 She told me about “plumjum”, my grandfather’s favorite spread for toast, and how his sister (yes, the very same as mentioned above) used to make him jars of it with plums from another sister’s trees. She laughed about how surprised she was when, at an older age, she learned that the coveted spread was in fact a simple plum jam. Those family trees that produced the fruit that formed the jam were a favorite playground for my Momma and her cousins, a treetop haven where they ate as many plums as they could stomach while spitting the pits at each other (she was a bit of a tomboy, my mother, having grown up with all male cousins). As we laughed about her memories, events she probably hasn’t thought about in years, I was reminded again of how powerful food is, and thankful that even though she hasn’t read it yet, this post evoked happy thoughts of her past during a time of sadness.
 As far as my future with plums goes - and based on my family history with the fruit - I feel pretty confident when I say that we've got many happy moments ahead of us. And you can bet (a plum cake, perhaps?) that a few jars of "plumjum" will be produced this weekend from the best possible specimens, packed up and shipped to Florida for my Momma and grandfather to enjoy. With love.
 In the last few weeks, I’ve seen plums pop up in
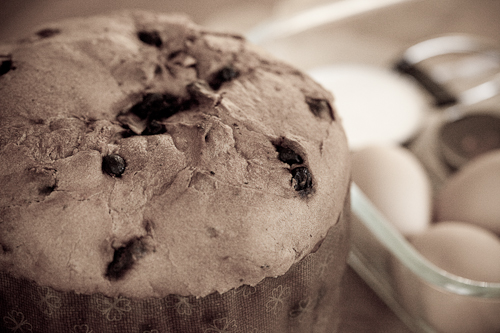
  If you'd like this cake for breakfast, make it the night before and wrap it tightly in plastic, letting it sit on your counter until the morning. Then, about 15 minutes before you're ready to eat it remove the plastic, pop it in the oven to re-heat for a few minutes before turning on the broiler to crisp the top and caramelize the edges.
Plum Cake
adapted from
  I followed the original recipe closely except for the following adaptations:
Because about 1/2 of my plums were still a little green on the inside and therefore quite tart, I chose to macerate the fruit for a bit before layering it with the dough. Even if I use very sweet fruit in the future, I won't skip this step. The sugar helped the fruit to caramelize at the edges, producing a wonderful texture.
The addition of lemon zest to the dough and slivered almonds to the top of the cake are two tricks that I use quite often in fruit cakes and crumbles. I think that everything is better with a touch of lemon and a few almonds.

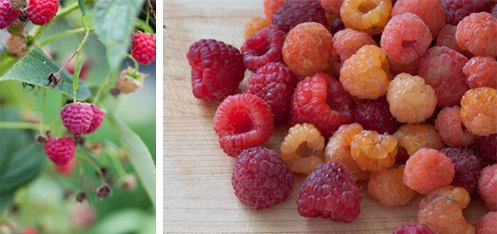 We got lucky. Their first year the raspberries didn't do much. We were rewarded with a couple of small handfuls of fruit - really only enough to snack on as you wandered through the garden checking on other plants, certainly not enough to actually do something with. But this year - the berries' second year - has been quite the surprise. Maybe its because I wasn't expecting much from them, or maybe its that their location in the garden is a bit out of the way, but just a few weeks ago I was shocked (shocked!) to discover that the raspberry branches had reached clear out of their intended boundaries and were loaded (loaded!) with plump berries. I wish I could show you photos of their progress, but the general unruliness of the garden has left me embarrassed to share the evidence.
 Its hard to not get excited about being in the kitchen, concocting new recipes when your fridge has a constantly rotating bowl full of red raspberries, golden raspberries and blackberries. Unless, like me last week, you come down with a bug right in the middle of berry season. It was nothing too serious, but provided enough sour feelings to keep me completely out of the kitchen and away from the blog. I had no interest in cooking food, writing about food or editing images of food for five full days. It was all I could do to get the
 I jumped up, so excited to have the urge to bake without a queazy feeling following along behind that urge. It was getting worrisome, this lack of desire to stand at my kitchen counter, because I had promised some dear friends that I would make cupcakes for their daughter’s third birthday party the next day. And, we had raspberries. Several bowls of raspberries freshly picked from our garden just waiting to be folded into muffin batters and buttercream frostings and made into
  These little raspberry almond muffins pulled me out of my funk, with some help from Ellie Krieger, whose book I had picked up at the library a few weeks prior. They are hearty, made with a mix of all-purpose and whole-grain flours, and pack nice little raspberry punches into each bite. Made moist by applesauce instead of butter, and topped with a crunchy cinnamon and almond topping, they provide an adequate amount of sweetness countered by the slightly tart raspberries - a sure pick-me-up for any slow morning or afternoon. I've frozen a bunch of them to use as my own little weapon against future kitchen blues...
 Raspberry-Almond Muffins
makes 16 muffins
adapted from Ellie Krieger's
  What about those cupcakes I mentioned before? Well, I made
  Other Bella Terra posts this season:
 I must admit, I’m somewhat happy to see this blackberry season come to an end. In just a couple of weeks I’ll be able to cut back all of this year’s fruited wood, and will have the space needed to train the new growth and reclaim our entrance to the garden. Blackberries bear fruit on the previous year’s growth, so as the new arms have reached out into any space they could creep to, we’ve been powerless to do anything about them. I can’t bear the thought of cutting any of them back, for fear of what that would do to next year’s harvest, but I will be very grateful to not have to play limbo to pass through the garden gate.
 I’ve actually shared this recipe with you
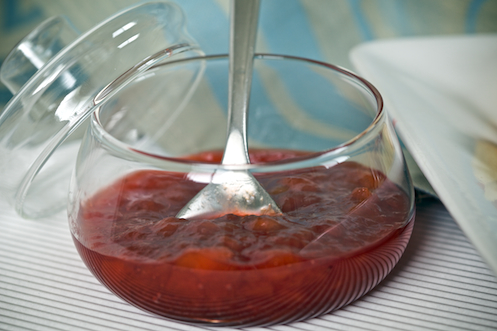
  But our favorite use of our overabundance of the sweet-tart fruit has been jam. So far we’ve tried three different varieties with our blackberries, and we have a few more in mind to try out this weekend. The peaches we’ve been picking have come in handy too, providing a natural sweetness that allows us to cut the sugar used in the original recipe. We’ve been eating jam on biscuits, waffles, pancakes, almond butter sandwiches and even pork tenderloin as a delicious glaze. We have jars upon jars stored up in our pantry, waiting to be given to friends or consumed by us over the next 11 months.
 In fact, one lucky reader will receive a 6oz jar of Bella Eats Jam to enjoy! Just leave a comment on this post telling me your favorite jam/preserves/jelly flavor. Who knows, maybe you’ll see your flavor featured after our next experimentation! I’ll announce the winner on my next post, so comment away until then.
 Blackberry Jam with Peaches or Plums
adapted from
  And, if you're not sure what to do with the 24-ish ounces of jam the recipes above produce, make
  Other Bella Terra posts this season:
 I don’t know what it is about running, but I feel like I have a little addiction to it. The funny thing about that is that I don’t particularly like to run. And I always seem to injure myself, which to me seems like a sign that maybe my body doesn’t like for me to run either. But I keep coming back, and every few months I get the urge to sign up for a big race to motivate me to increase my mileage. This time it started innocently enough, with registration for the
  Its enough to make a girl feel a little crazy - all this back-and-forth, love/hate relationship with running stuff. But you have to understand that I read some
  Because Saturday mornings are reserved for the farmer’s market and a vinyasa yoga class, I’ve made Sunday mornings my long run days. This has been tough for me, as Sunday mornings have historically been leisurely, quiet and full of baked goods. I’m slowly adjusting, but have decided that recipes that can be started the night before (and the bloggers / chefs that share them) are going to be my new best friends. I tried my first last weekend, courtesy of the amazingly creative
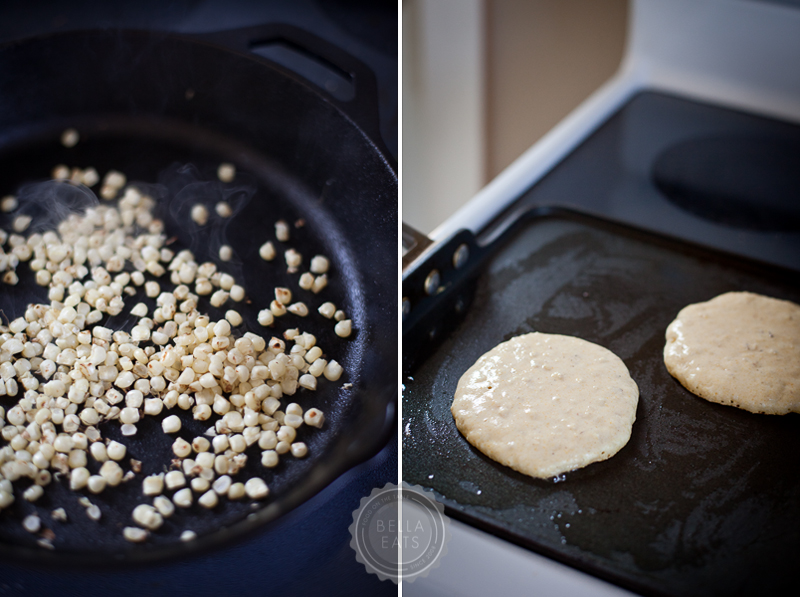
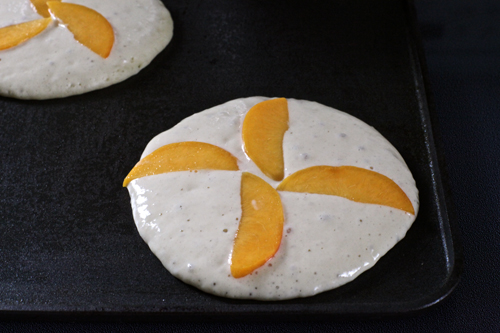
  Once home I switched on the stove to heat my griddle, added some cooking spray and slowly ladled pools of the yeast-full batter I’d made the night before. As the batter set I added the peach slices and waited for the tiny bubbles forming on the surface of the ‘cakes to start to pop, then flipped them over to reveal the golden brown surface below. I woke Brian, who quickly went to get us coffee (since I broke our french press carafe last week, sob), and we settled around the table no later than usual. The only difference this Sunday morning had to those of our past was that post-run, an indulgent Sunday breakfast is so much more satisfying.
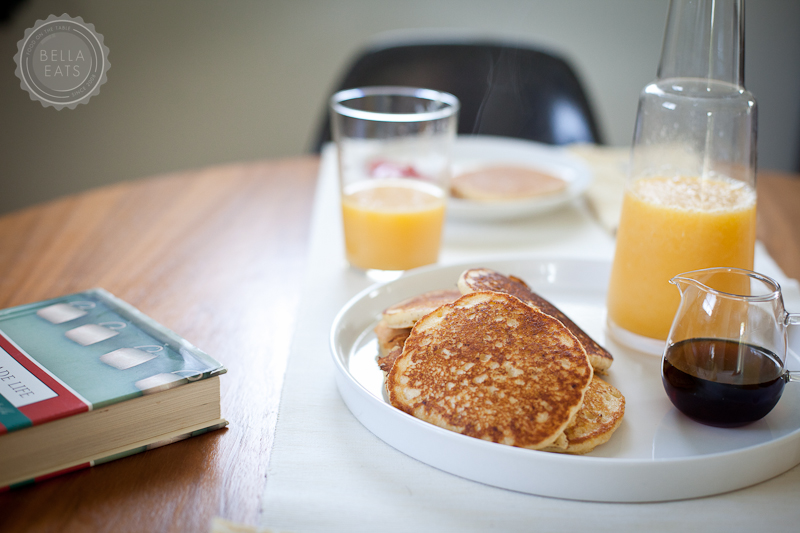
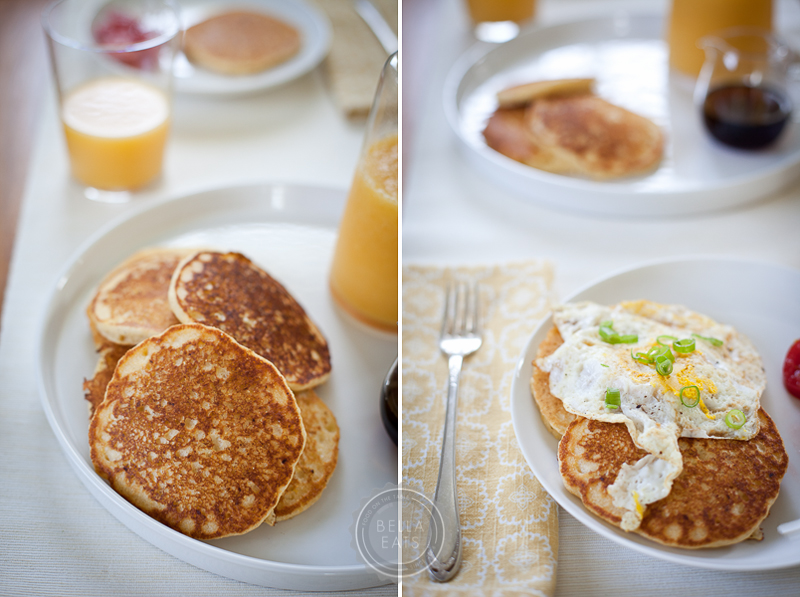
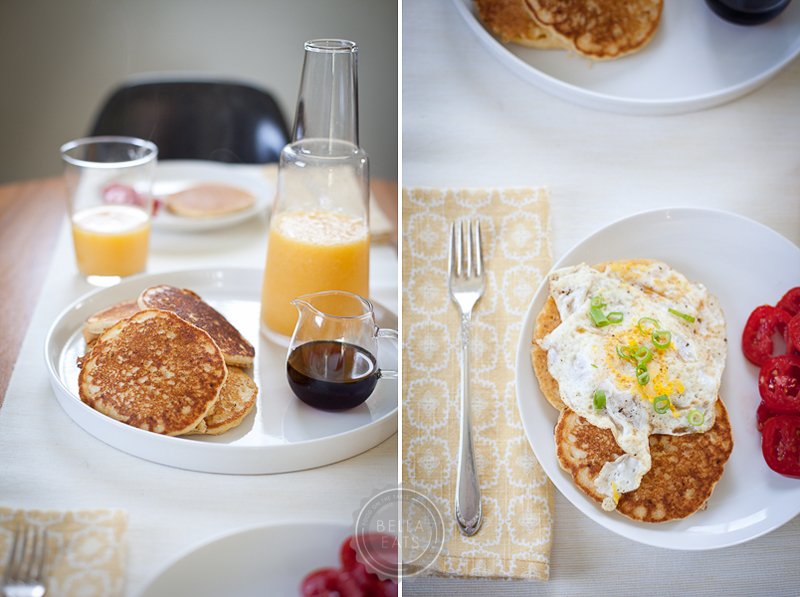
One bite in and I knew that these were the best pancakes I'd had. Ever. Light and fluffy, with a nice yeast-y tone, they were complimented beautifully by the sweet peaches and real maple syrup. We had leftovers, and they kept very well in an airtight container in the fridge until I re-heated them in the oven for breakfast this morning.
Slow-Rise Pancakes
adapted from
 It is undoubtably our favorite part of the week, and we make sure to leave ourselves with plenty of time to talk to Richard about the problems we are having with our own tomato plants and to gush to Jean about the magic of her hens’ eggs. We have a direct connection to the people who supply the food on our table, something that I think the majority of the world population doesn’t have and may not understand.
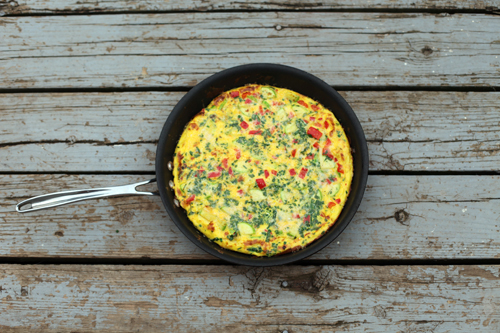 I know that we're very fortunate, and was reminded of it again last week when I made this vegetable frittata. As we sat down to eat I realized that every single ingredient, except for the parmesan cheese and olive oil, was locally grown. The eggs, milk, bell pepper, leeks and zucchini all came from the farmers' market, and the herbs were grown in our own garden. How cool is that?!? I'm not trying to rub it in, I'm really not, I just had to share with you all the amazing feeling that I had knowing that our dinner was not only delicious, but also supporting our local farmers.
 With
With  I challenge you all to make this frittata and try to include at least one local ingredient, even if it is just herbs from pots on your porch. Every little bit counts!
Feel free to switch up the veggies, the recipe is very versatile. And delicious too, I might add.
Farmers' Market Frittata
Ingredients:

 I agreed to get rid of the bread machine not only because we had zero space for it, but also because I thought it would be a way to force myself to learn how to bake yeast breads from scratch. It seemed like a great idea since I already loved to bake cookies and muffins and quick breads - Brian even bought me a
  It really wasn't a difficult task, making bagels from scratch, especially with
 Now, I'm not from New York or Philadelphia or any other city whose residents claim that they have the *best* bagel. I didn't grow up eating bagels every week so don't have the kind of nostalgia associated with them that so many other people have. I don't claim to have had the best bagel of my life when I was growing up in such-and-such city, and certainly haven't spent my life trying to find one that compares. So, while I can't personally claim that this bagel will match the bagel of your past, I do trust
  This recipe produces a bagel with a chewy exterior, soft interior and endless possibilities for toppings. I froze ours in gallon-size bags once they had cooled, and simply microwaved them for 30 seconds before slicing and toasting when we were ready to eat them. The flavor and texture were still perfect.
Before typing out the [rather lengthy] recipe, I did a quick search to see if I could find a link online. Luckily,
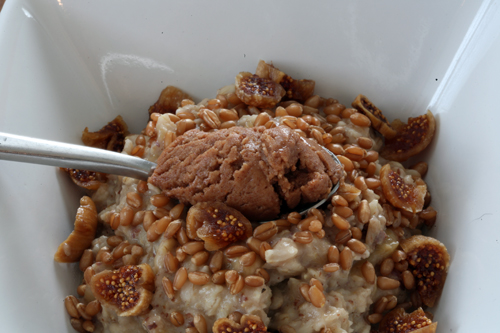

 I've tried many different variations of mix-ins, from fresh fruit to chocolate chips to canned pumpkin, but I always come back to this combo. What are your favorite oatmeal toppings?
 For those of you who have stuck around since the early food diary days - Thank You! - I appreciate each and every one of you and love seeing comments pop up from familiar names as well as new readers.
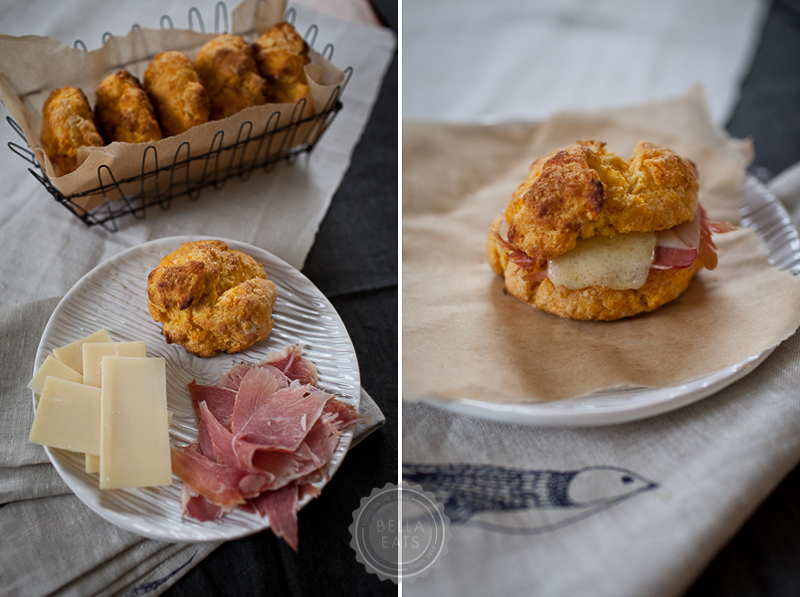
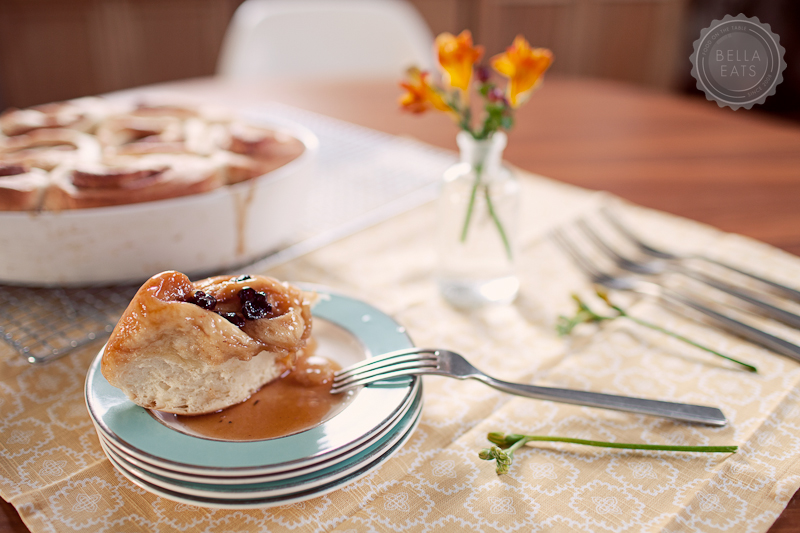
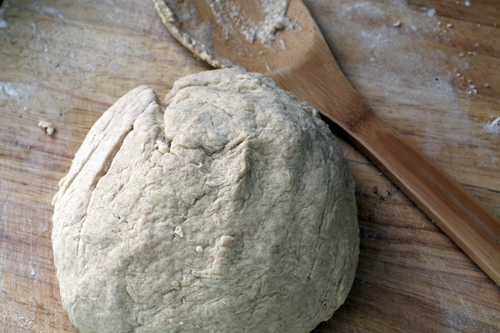 The smells that accompanied these mornings were varied but always indulgent. Sometimes we'd have flakey buttermilk biscuits with sliced ham and provolone, or my daddy would fry up eggs that we'd sop up with buttered toast alongside lil' smokies or pan-fried bacon. And some mornings there were cinnamon rolls or even better, orange danishes. Popped from a can, baked for 15-18 minutes and then slathered with glaze - those Sunday breakfasts were my favorites.
 These days, now that I'm all grown up (some might argue with the truth of that, even me...) Sunday mornings are still somewhat lazy and indulgent. Saturdays are started early, sometimes with a long run, and always (during the season) with a trip to the farmer's market for breakfast and the week's produce before embarking on the day's agenda full of errands, chores and projects. Saturdays are busy and productive, the perfect justification for the extra 30 minutes in bed on Sunday mornings and the indulgent breakfasts that typically follow once my feet hit the floor.
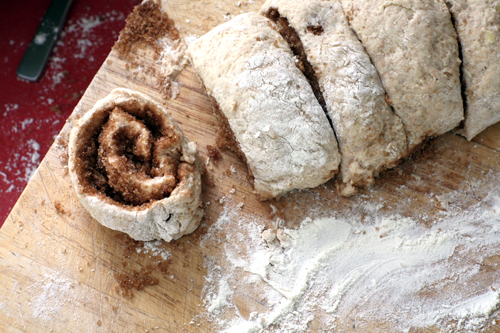 And even better than my extra 30 minutes in bed is the fact that Brian typically requires an extra 2 hours in bed on Sundays, leaving me with the kitchen all to myself. This is my baking time. I wake up to a quiet house and kick the dogs out to the back yard to ensure that it remains quiet. I clean up any leftover dishes from the night before while going through breakfast ideas in my head. This is the time when new
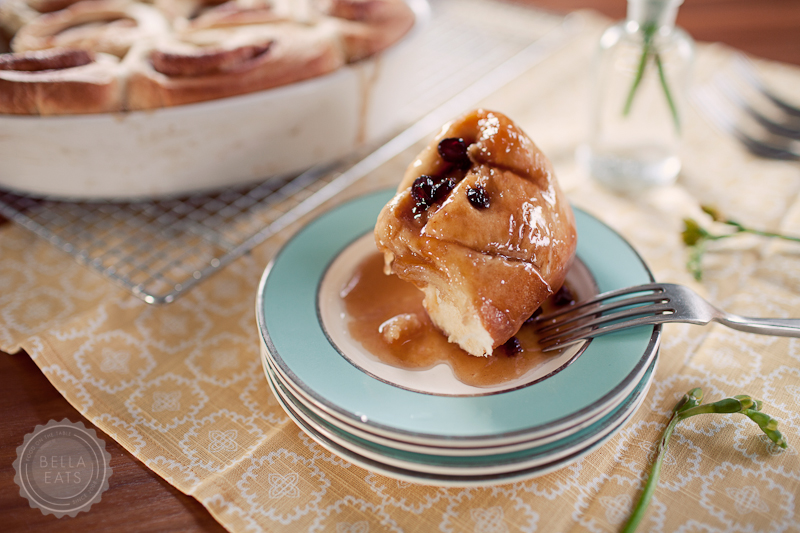
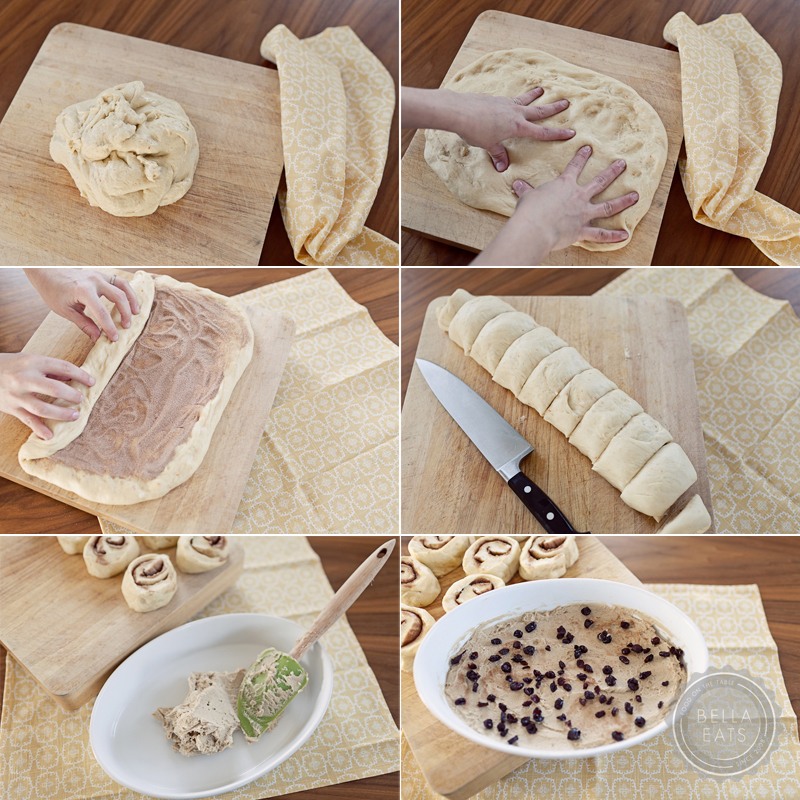
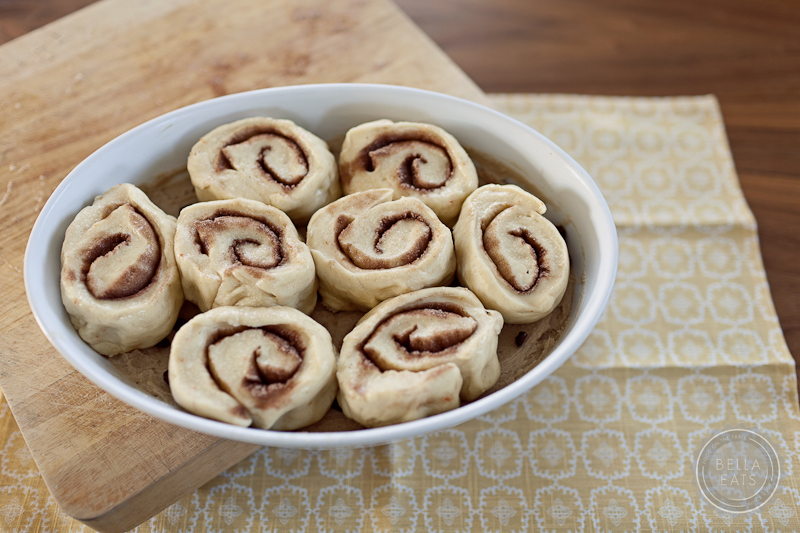
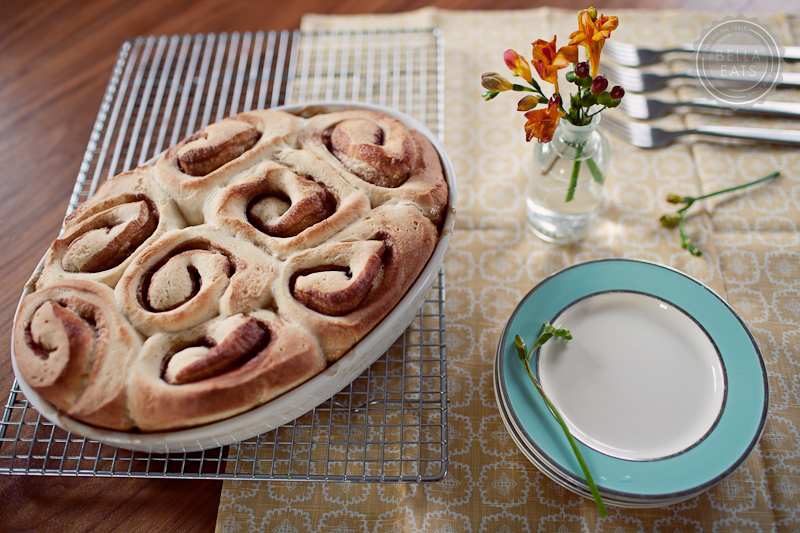
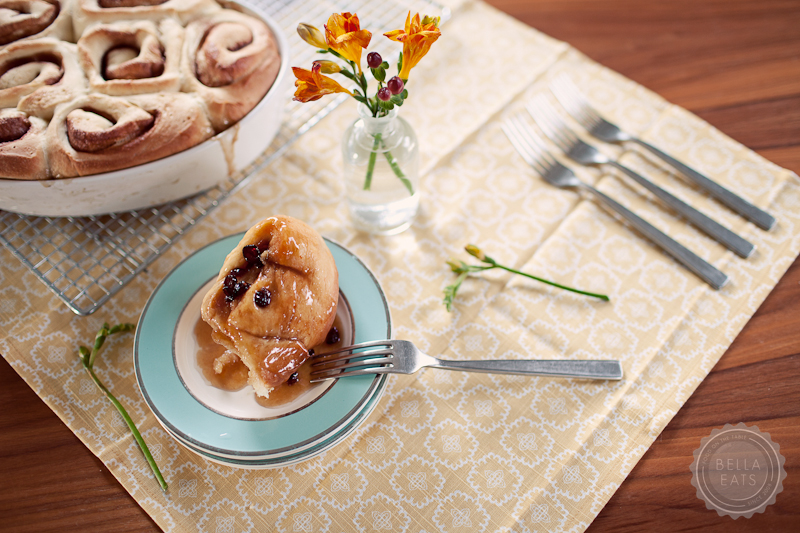
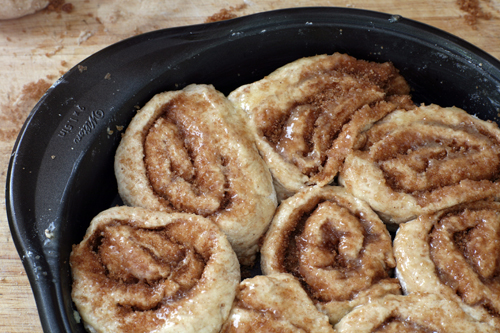 These cinnamon rolls were delicious, certainly a step up from the canned variety although they take about 3 times as long to prepare. I substituted spelt flour for some of the all-purpose and loved the extra flavor that the whole grains provided. I've become a big fan of spelt flour lately, experimenting with Wiggs'
  The original Cook's Illustrated recipe can be found


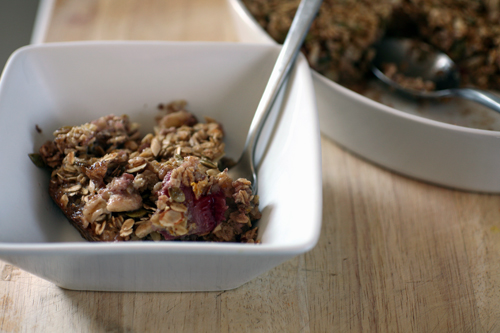
 Baked Oatmeal with Strawberries and Bananas
original recipe from
  In the Blog World...

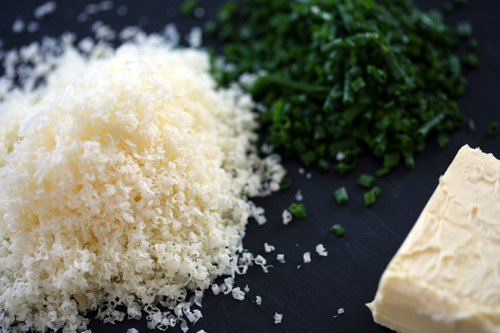

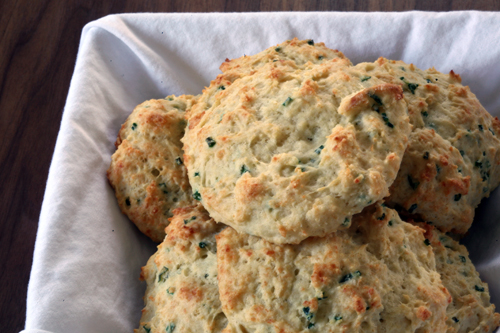
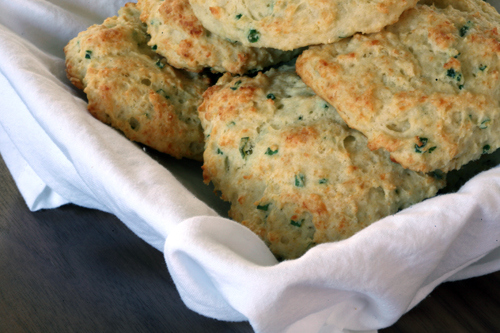
 Cheese + Chive Buttermilk Biscuits
recipe modified from
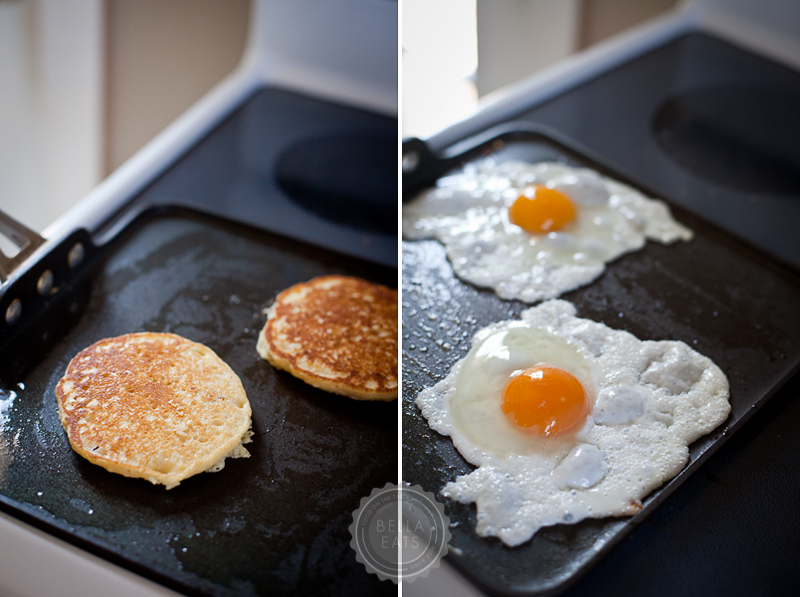
  Oh yes, it was a weekend filled with indulgent breakfasts. Is that bacon on my plate?!? What?!?
I"ll be sharing another breakfast with you this week, but it is of the sweet variety and involves oatmeal. Get excited, because it is fabulous. :) And its healthier than eggs, bacon and biscuits, so who wouldn't be excited?
I hope you're all having a great week!